October 19, 2023
We spent far more time on the rear fender and related parts than I ever would have imagined. Ditto for the painting. Since the fender is a really narrow 4” stainless steel (SS) un-drilled fender (sold as a blank front fender), its alignment in relationship to the rear wheel needs to be right on and perfectly centered. Most fenders are usually centered, but a wider one would have a slight amount of wiggle room to fudge with. I welded up a SS center bracket for the fender for added support and then made three 1/8 x 1” SS braces, curved to the shape of the underside of the fender, which I JB Welded where the mounting bolts go through it. This will stiffen the fender in these areas and hopefully keep it from cracking around the bolt holes. TIG welding the braces in place would have meant re-polishing the fender, so JB Weld seemed like a good option.
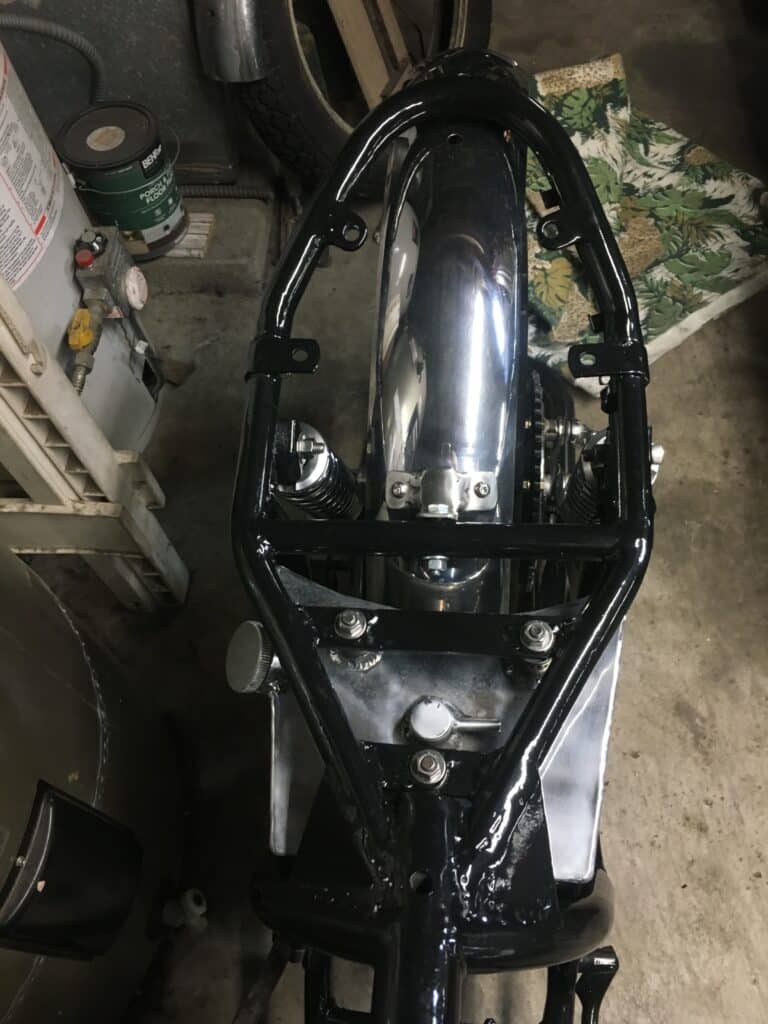
Then we laid out and drilled holes for the Bates aluminum tail/brake light unit which we polished to like new or better. We also drilled 2 larger holes for rubber grommets for the taillight wires in the fender. We thought we were about finished with this part of the build until I attempted to bolt the license plate and its frame to the Bates taillight. Closer inspection of the plate revealed two horizontal cracks, each over an inch long going from the right and left side through each mounting hole and beyond. No one can tell me British bikes don’t vibrate!!! Since I really wanted to use this period correct original plate, I decided to stop-drill the cracks where they ended with a 1/16” drill hole. Then I cut out a rectangle of 18 gauge steel the size of the license plate to the ribbed extrusion and used a lot of JB Weld to fasten the steel plate to the back of the license plate. With several clamps and lots of cleanup with acetone, we let this unit set up overnight. It’s very stiff now and the mounting holes now go through the steel plate as well as the license plate. I’m also mounting the license plate unit onto a piece of SS sheet metal so it will have a clean border as well as look good from behind the plate.
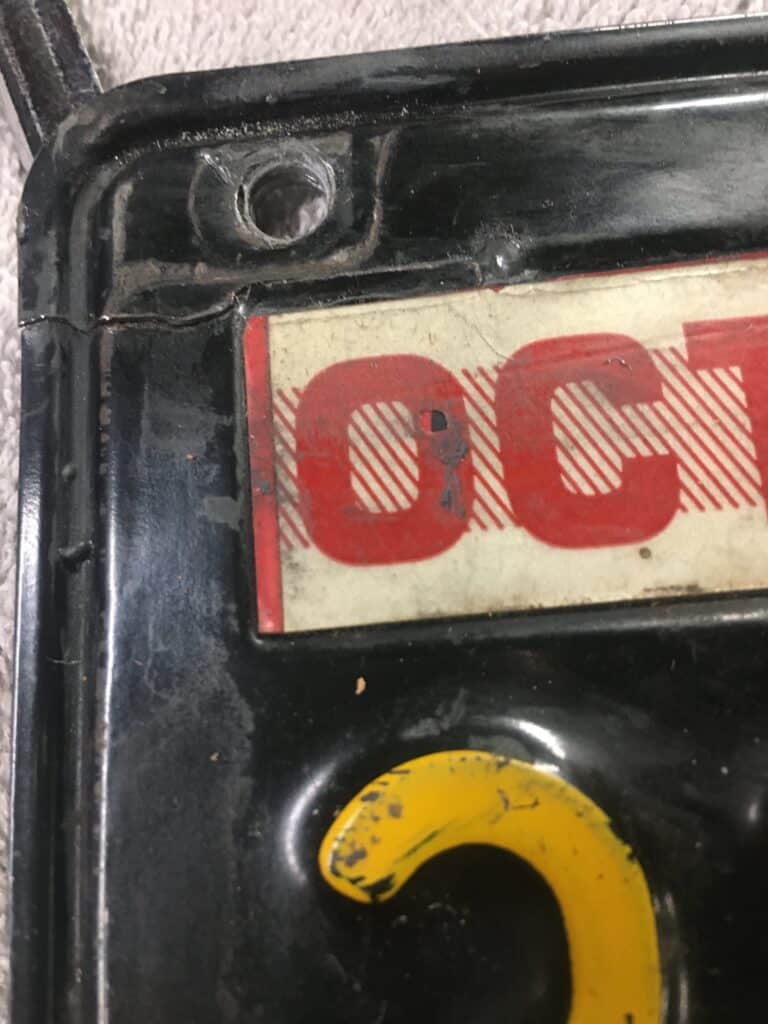
Previously, the license plate frame was part of the structure because of the cracks in the license plate, but the frame looked to be in poor shape. No problem I thought. I’ll just go online and find another, now mostly for aesthetics. Wrong. Although there are many frames available, they are smaller for new motorcycle license plates and not only won’t fit the plate I have, but the holes are different too. My plate is 8” x 5” and the new plates are something like 7-1/4 x 4-1/4”. So Eric took some 0004 steel wool and using WD40 as a lubricant, was able to make the old frame look decent. Not perfect, but very good. I’ll keep my eyes open for a better frame but now this is a pretty low priority. I’d love to find a nice one that has Hap Jones, the former BSA dealer in San Francisco written on it, but it would probably cost more than the bike. Both Eric & I were blown away just how much time went into this “simple” fender getting it fitted and mounted.
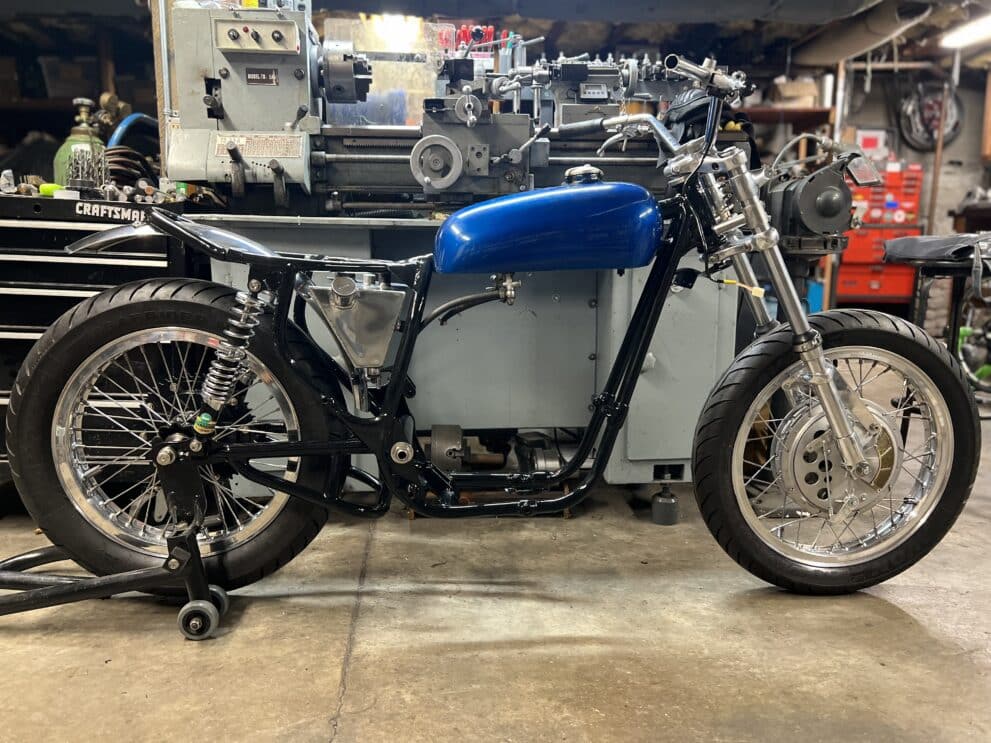
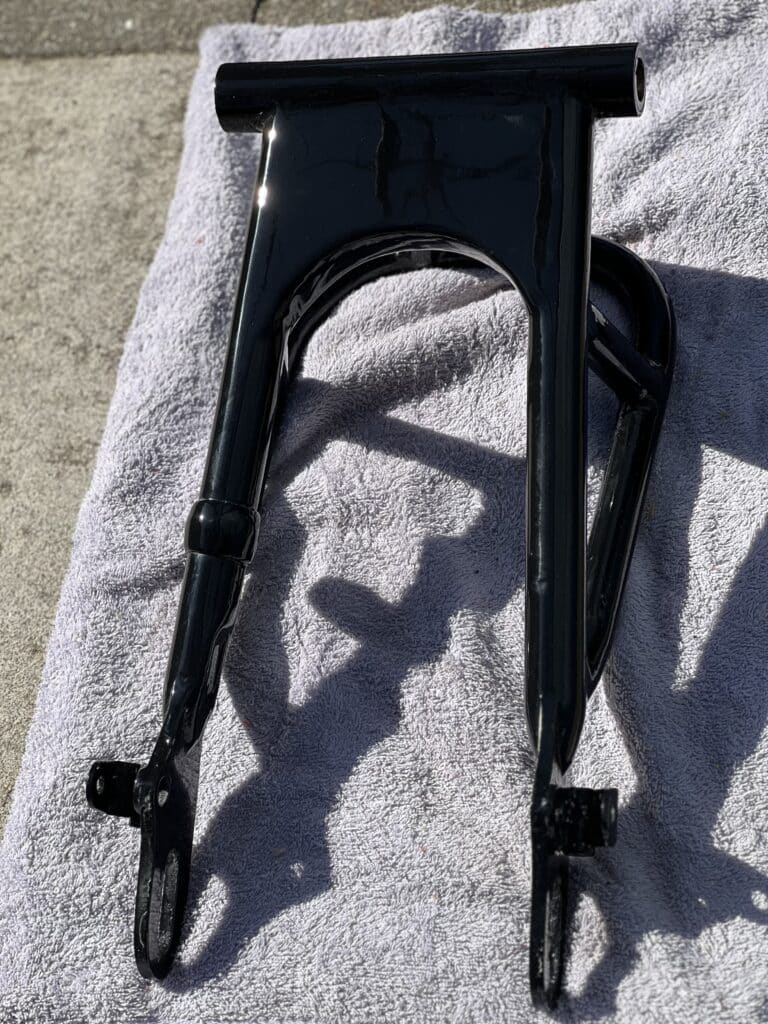
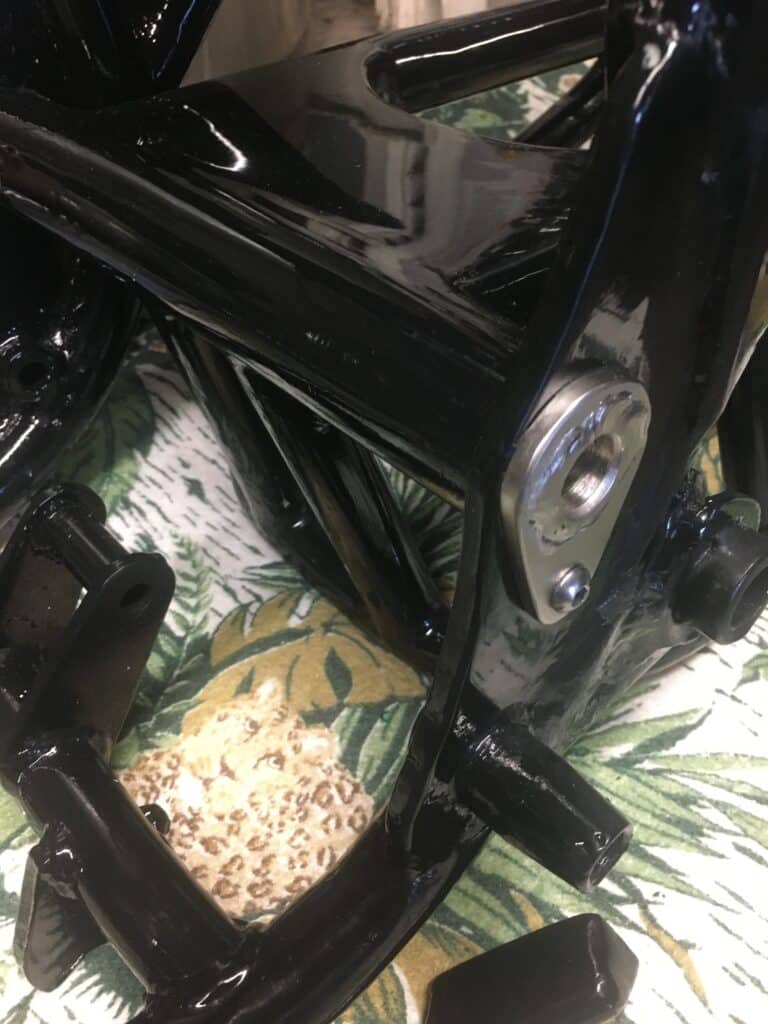
While the frame is apart for painting, several parts I machined went out for nickel-plating to prevent rust. The front wheel axle, the swing arm axle, a couple of miscellaneous parts, some nuts and bolts needed plating before we can assemble the chassis for the final (hopefully) time in preparation for the motor. We decided to paint the frame rather than powder coating. I personally have gone back and forth about this, but feel that touching up a painted frame in the future gives paint a slight edge. We did however use Spray Max gloss black epoxy paint in a rattle can (Eastwood and possibly other companies make a similar product), the type that you press a button on the bottom of the can to activate the epoxy before painting. Once activated, the can life is 48 hours and then it’s finished. This paint is an amazing product. The finish is beautiful, and the paint dries to touch in about an hour. The frame looks like a Steinway piano!!! The next day it is very hard and even acetone doesn’t remove or effect it.
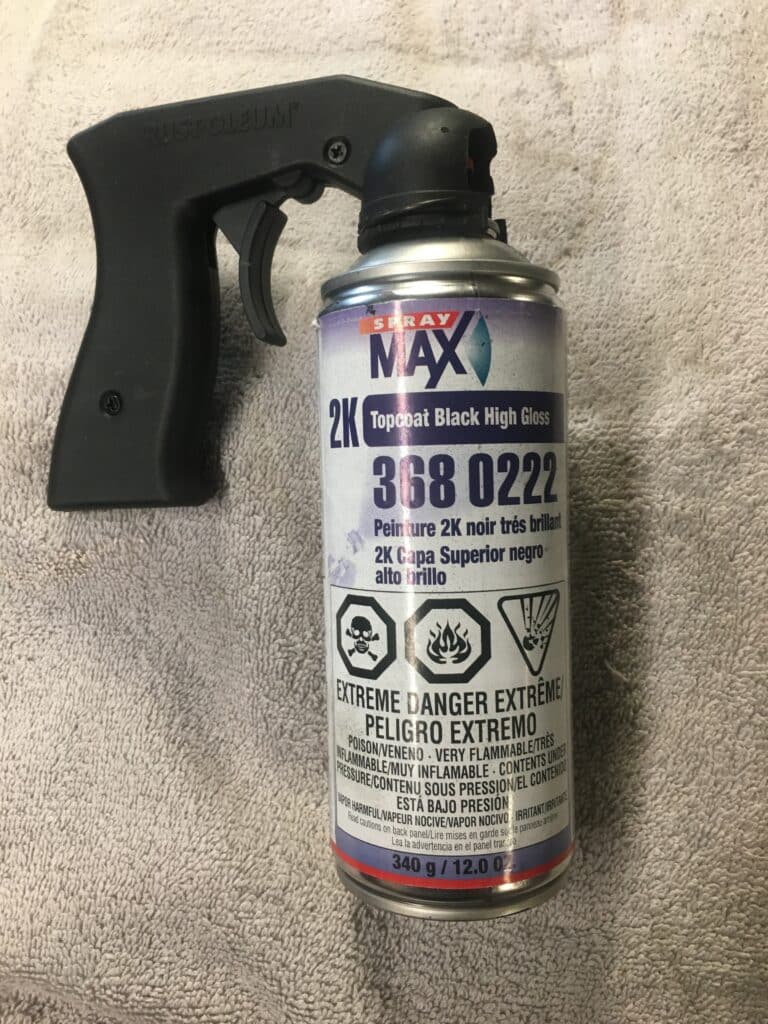
It took a couple of tries for me to get the learning curve down with this paint, however. The overspray issue was difficult since painting all sides of the frame, keeping a wet edge, took a couple of tries. We finally came up with a way that used a 4’ piece of ½” EMT electrical conduit placed through the swing arm axle holes, supported by a pair of saw horses at either end. This, along with a piece of wire placed through the head tube, allowed us to rotate the frame while still wet thereby controlling the overspray with a wet edge. Using a handle made by Rust-Oleum that snaps onto the can that lets one squeeze a lever to control the spray instead of pushing the button on the top of the can, is a welcome addition to painting with a rattle can. Spray Max paints also have an adjustable volume knob on top as well as directional spray flow (horizontal or vertical). I didn’t realize it had these features and wasted a lot of paint on my first attempt, actually running out of paint before completion. Eric has used this product in the past and he turned down the flow to what was really needed on a tube project like a frame. With the flow adjusted properly, Eric was able to spray the frame well. It’s really good and durable paint, a little pricy, but we both are happy with how it came out. It’s clearly the best spray can paint I have ever used.
The front brake lever is from an early 1970’s Suzuki bike that also used a 4 leading shoe (4LS) brake with 2 cable pulls. It’s very similar looking to the Tomaselli clutch lever, but includes a stoplight switch as an option built into it. This switch makes the wiring very clean. I used the identical setup on the Rickman with the 210mm 4LS Fontana brake. This lever is hard to find, especially at a reasonable price, but we lucked out. Suzuki, like everyone else went to disc brakes in the early 70’s so the original run was limited. I wish I could find something as clean for the rear brake, but at least until I do, I’m using a generic switch with a spring to the rear brake lever. It will need a small bracket or something for mounting the switch to the frame. I’ll keep thinking about something cleaner or better and something may show up. Today, hydraulic disc brakes with pressure switches that can be placed anywhere in the line, sure took this issue out of the equation!
A pair of stops was needed to keep the front forks from turning too far, so I found a set and machined a pair of Derlin (a type of plastic) plugs in the ends of them, to try and mar the frame a little less than steel on steel. They are nothing special, but required on all bikes that race to limit high siding when things go wrong, and for us along with this, keeping the forks from denting or cracking the gas tank. Eric doesn’t like the looks of them too much, but unless I made custom triple clamps with stops built into them, this is how it was done “back in the day” with Ceriani triple clamps. From my construction days I’ve learned that, “form follows function” so I can live with these.
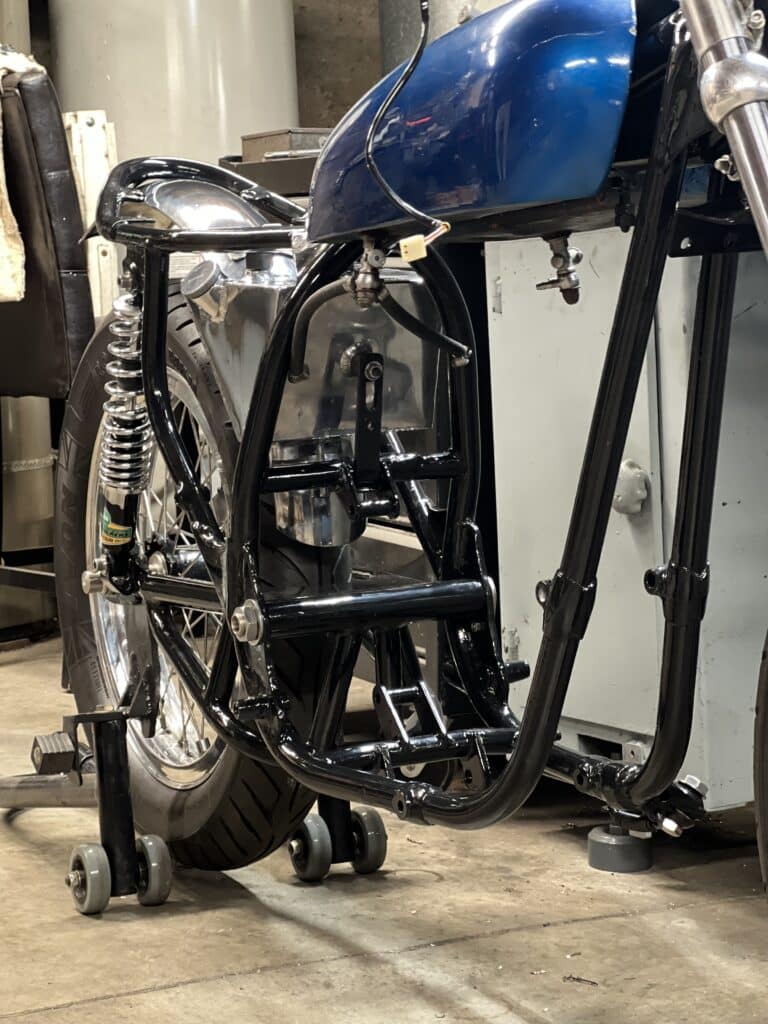
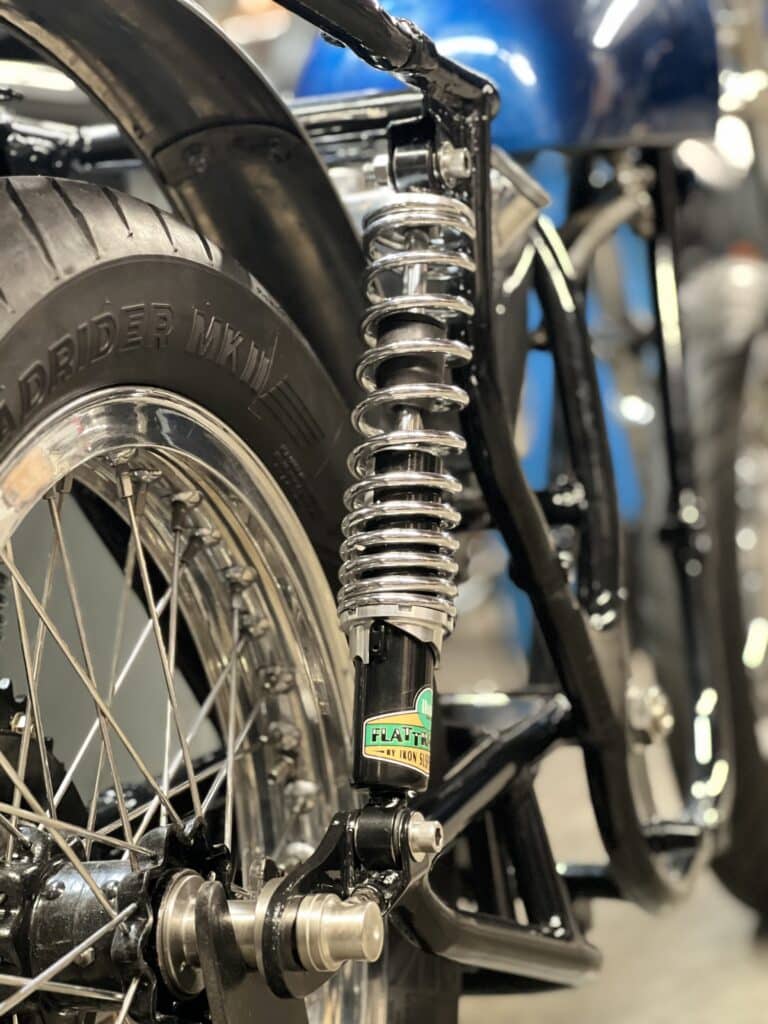
With everything ready, we assembled the frame with new Ikon Flat Tracker rear shocks. I swapped the black springs for chrome springs, solely to please my personal aesthetic sense. Button SS bolts for the fender and various other SS bolts will replace many nuts and bolts throughout the bike. Although the motor will be balanced, I’m still using plenty of blue Loctite on every nut and bolt!
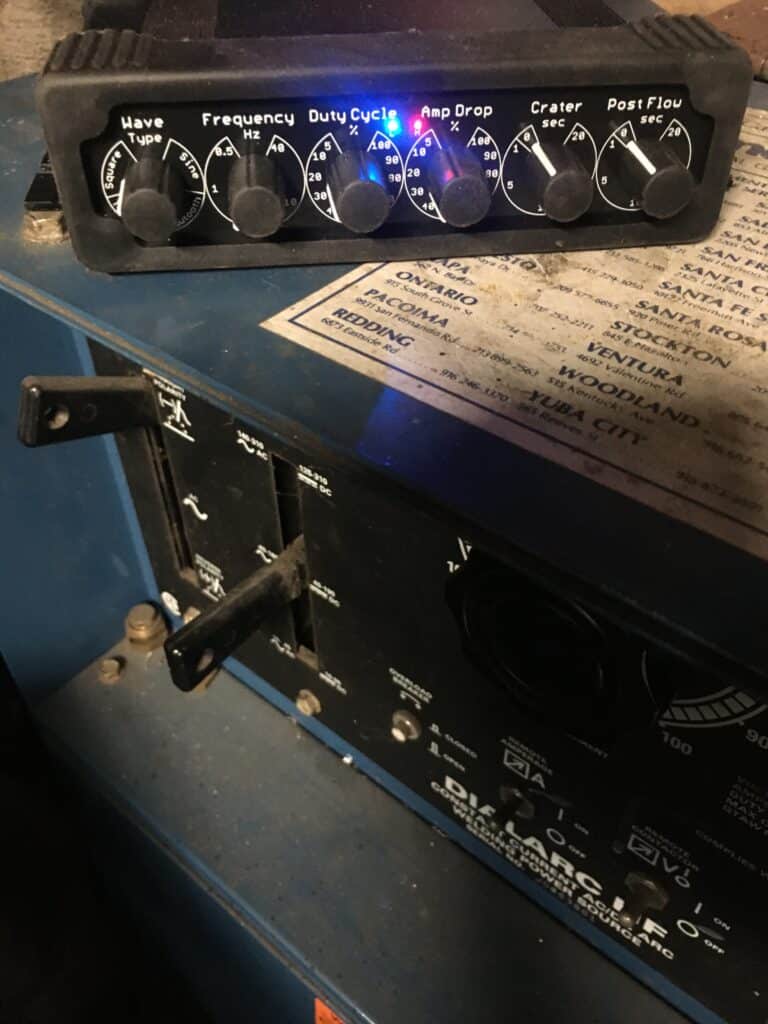
Because I plan to build a custom SS exhaust system, I have been debating whether I needed a new TIG welder. Mine is a Miller Dialarc 250, a workhorse from the early 1970’s that does TIG, but is missing a pulse feature. When I watch good welders work, they often pump with their foot on the pedal to raise or lower the amperage for beautiful looking welds. On thin metals this is very important to prevent burn through because of too much amperage, or cold-welds from not enough amperage. Because of my CMT-2 disability (see BSA Report #2) I have very little feeling in my feet and can’t work the pedal very easily. So I just purchased a solid-state pulsing device, a Jattus TIG Perfect 2.0 https://jattus.com/shop/tig-perfect that interfaces through different connectors depending on the model of older welding machines. This should bring my welder into the 21st century at about ¼ the cost or less of a new welder. Plus I get to keep my water-cooled TIG torch, radiator and I can interchange this pulsing attachment with my foot pedal control as well as my thumb control in about 30 seconds. The Jattus TIG Perfect 2.0 has 4 waveforms to chose from and can be adjusted to pulse from once every second to 40 times a second. The amount of high and low amperage is also adjustable. Hopefully, this device will control my welds, which often seem too hot, especially on thinner metals. I will keep you informed if everything works out as well as I expect it will, in the next post.
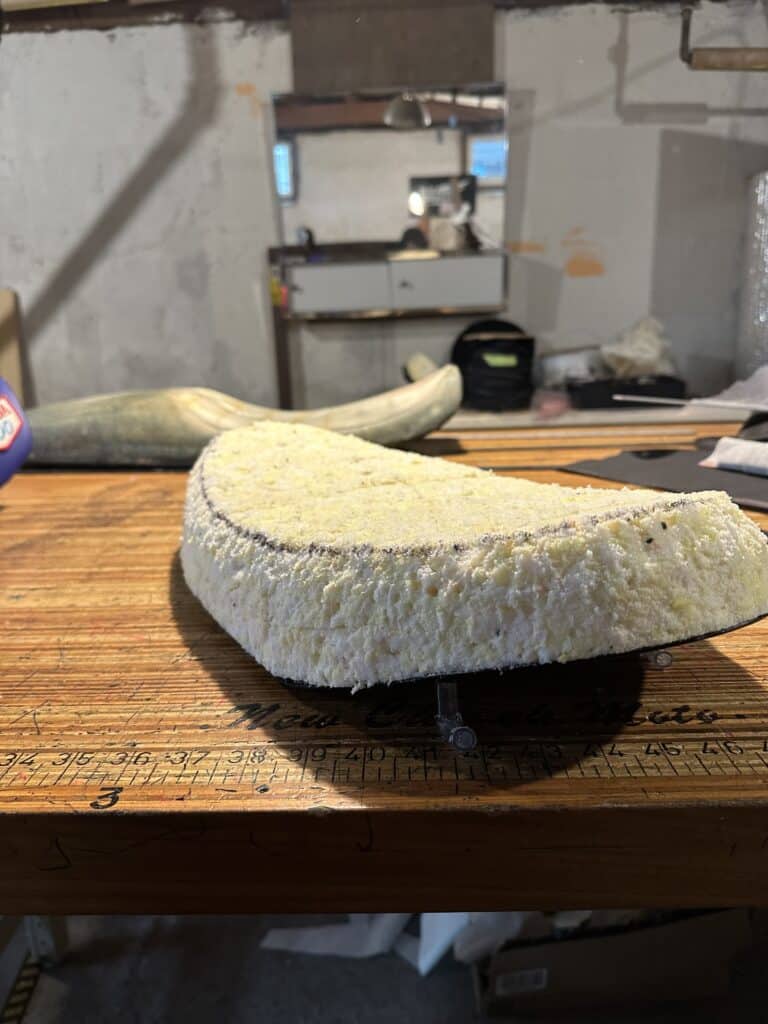
We still have a session or two before we start in on the engine. Our “to do” list includes mounting the Bates tail/stop light, license plate and frame, front brake cables and related hardware, mounting the headlight, installing the rear stoplight switch, plus the oil cooler and oil filter need to be mounted, and hopefully the completed seat which is in the works from New Church Moto in Bandon, Oregon https://www.newchurchmoto.com. I suspect this list isn’t complete either! We also plan to finish an electric track starter, which I started 6-8 months ago, and “temporally abandoned.” Not only do I want to complete this project to help start the Rickman and soon the BSA, but I really need to clear off the top of my workbench for the upcoming engine build. We have been sourcing engine parts for the last few months and are getting ready for the next phase.

Comments