January 15, 2024
We ran into another delay in the beginning of November so this edition is a couple of months behind schedule. Not the usual type delay however, but one that involved me. I took a fall from a ladder while working on a solar project on my one-story kitchen roof and broke 17 ribs, 2 vertebrae, punctured a lung and was fairly bruised up. After a little over 3 weeks I was back in the shop but not working much. After 8 weeks I am now feeling pretty good again, about 90%, and Eric and I are back at it.
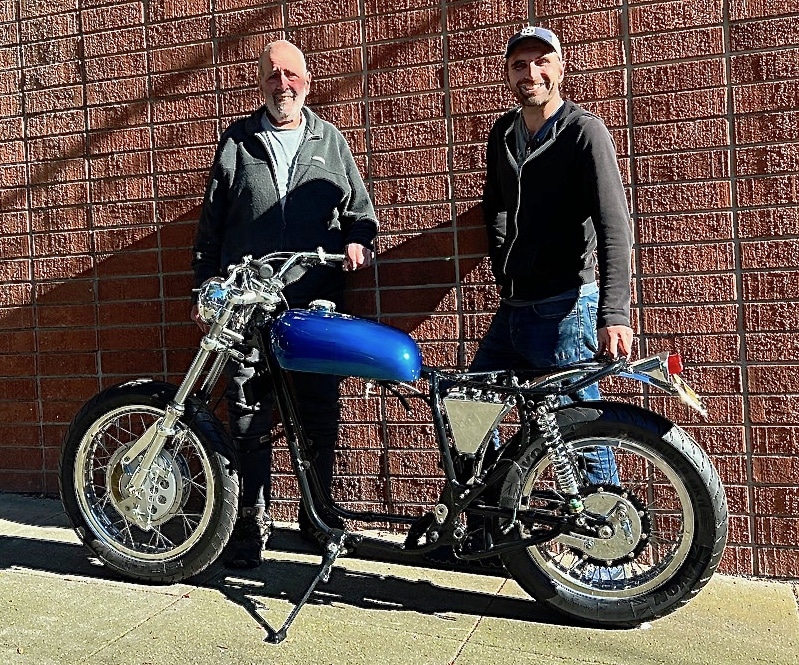
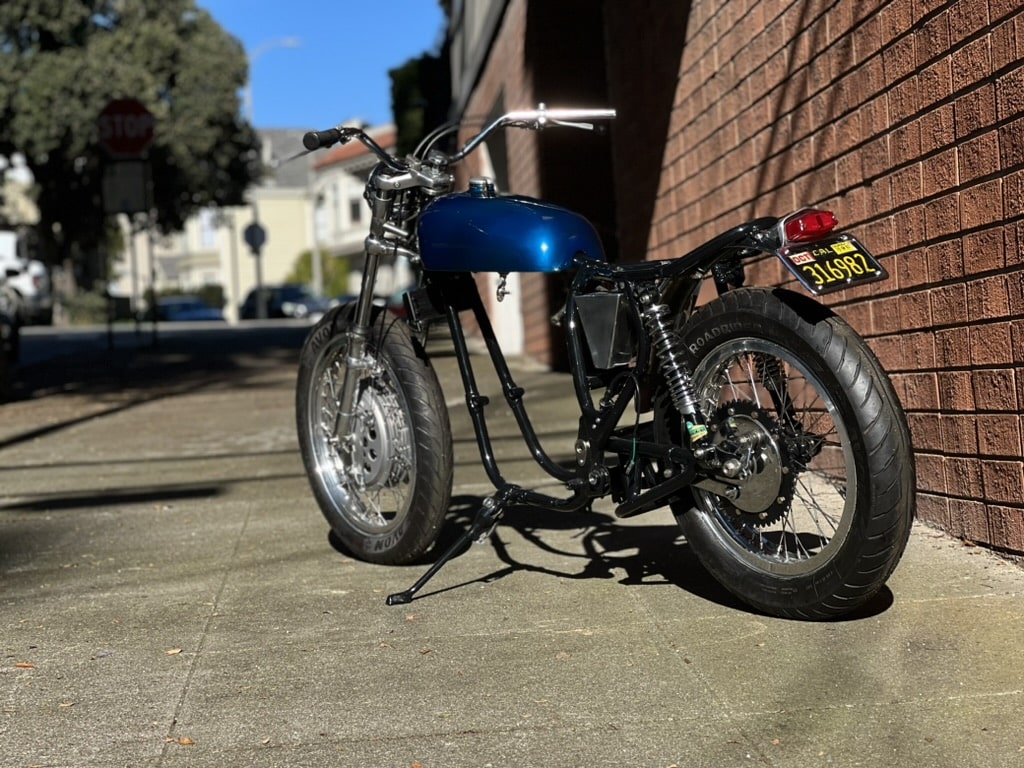
It’s been a full year since we started on my BSA Hornet, and we finally getting close to starting on the engine. We now have a finished rolling chassis. It seemed that the closer we got to completing the chassis, the more work we found to do! The seat is back from the upholstery shop, looks great, and fits well. This type of build is so different than restoring a motorcycle to original factory specifications. Those bikes are usually beautiful and usually take lots of money and many hours of work. However it is a very different kind of build than the type we are doing. A restoration involves sourcing or repairing stock factory parts and then detailing them to look like new with plating, painting, polishing, and assembly to factory specs. The finished product looks like new, and often better. Often these bikes are never ridden or rarely ridden in order to keep them in pristine condition. The finished product, if restored to factory specs, is usually no better or worse than the day it left the showroom.
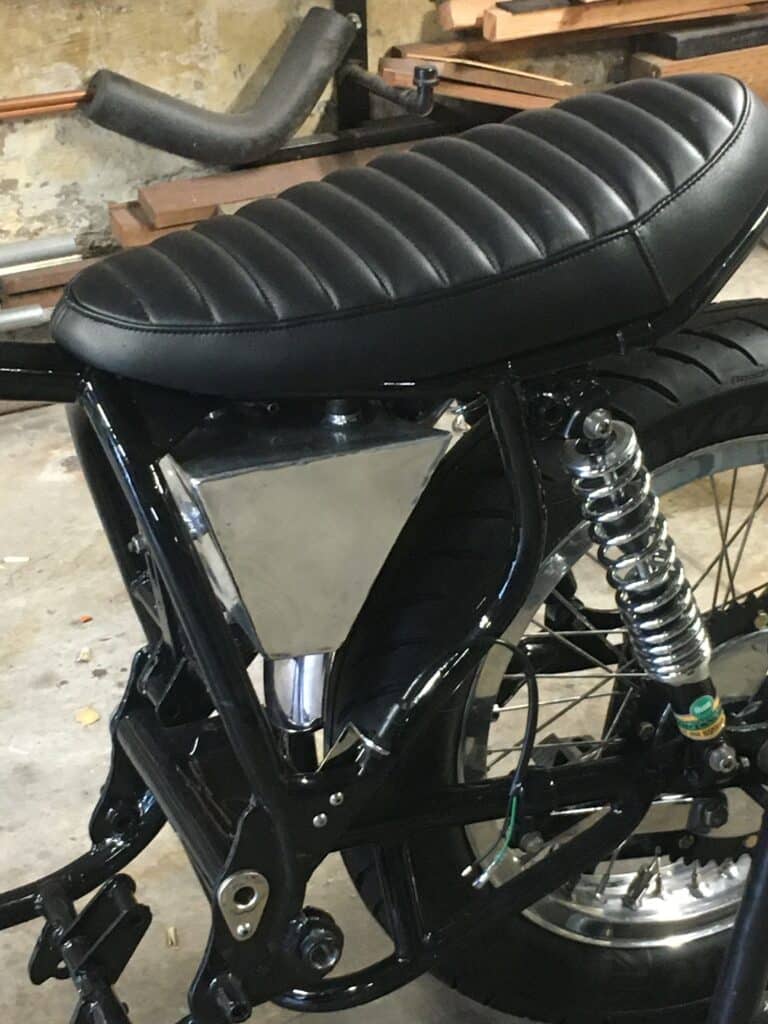
Eric and I are doing something different. As I said in an earlier post, although I’ve always loved British bikes, I’ve always thought they were flawed and could have been so much more. We are attempting to do just that. I’m not putting down someone who restores to perfection, but this build isn’t that. I will modify or replace ANY part I think will make a more robust bike. When complete we plan to RIDE this bike, not just look at it. This makes our work incredibly slow, since often we can’t go to the dealer or EBay to find what we need. We design it from scratch, machine or weld it, try it out and sometimes trash it and start over when our ideas don’t pan out, or a better idea surfaces later. This is not a complaint. This is what I like to do, even though at times it feels like we are not making much progress.
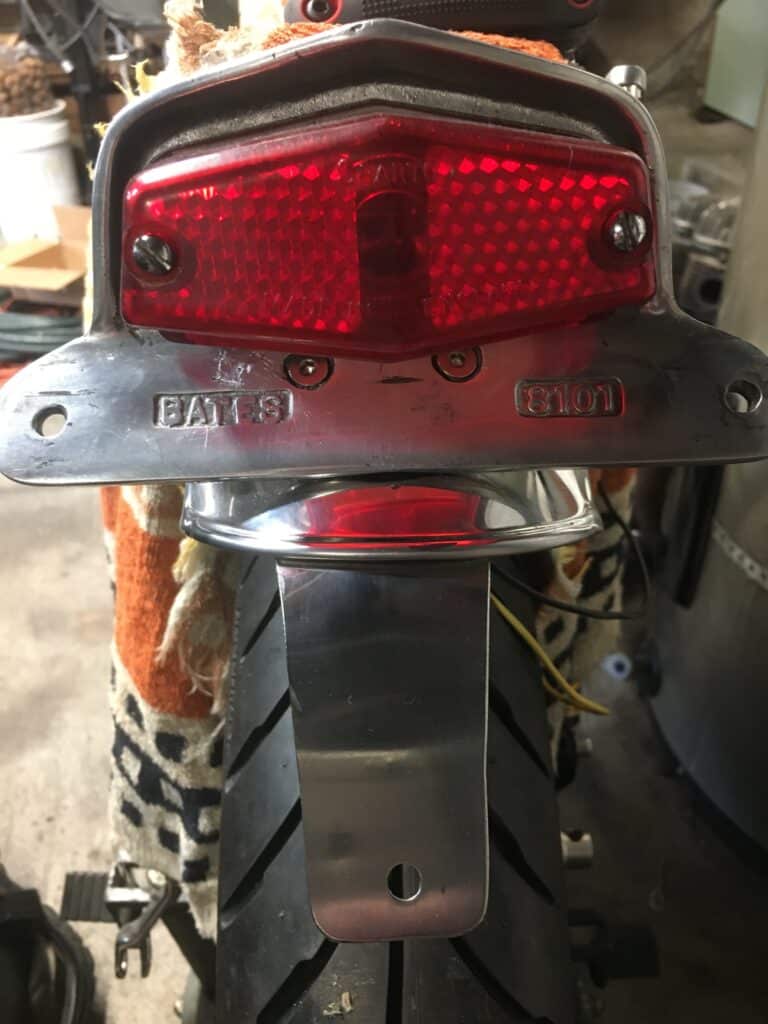
One example of this is a bracket I made. After modifying the original license plate with a stiffening plate because of a pair of horizontal cracks, I realized this still might happen again because the plate cantilevers off the end of the fender. There is no “factory” bracket (or longer fender) to stabilize the bottom of the license plate so one had to be fabricated. I used a piece of 18-gauge stainless steel (SS) and shaped it into the curve of the fender at one end and flattened the other end to support the license plate. The layout for the holes was time consuming. Their placement held the bracket centered and attached to the lower center hole of the plate. By the time I was finished, designing, building, polishing, sourcing the mounting bolts, many trial fits, and finally installing the bracket, a day of work had gone by. The finished product stiffens the license plate greatly. In effect it extends the fender. Even better, it looks like a factory part! That full days work will never be seen unless the license plate is removed but is one small part of a custom build.
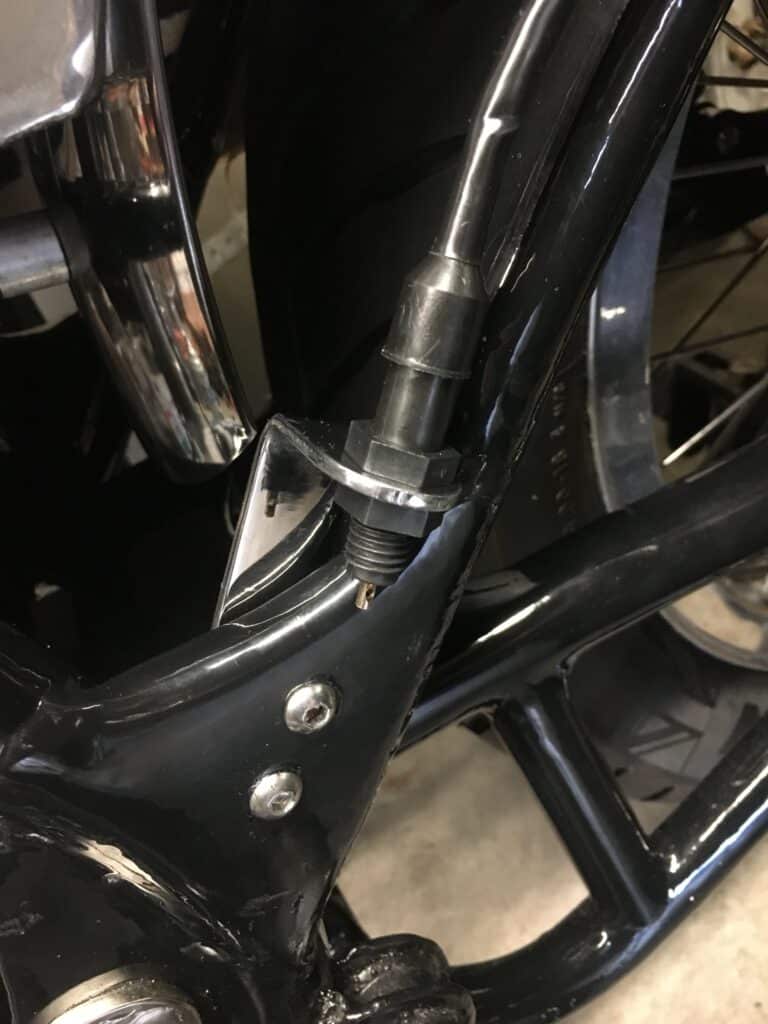
Another part that didn’t take quite as long (but almost) was the rear brake light switch mounting. I purchased a brake light switch for a new Royal Enfield bike I saw on EBay which as it turns out, wasn’t going to work as well as I thought it would. So then we decided to use a Honda switch, but that would require us fabricating a bracket. We thought of several possibilities of how to mount the bracket and switch, and came up with a plan. Eric fabricated the small bracket out of 18 gauge SS while I machined 2 Delrin spacers to place the bracket where we wanted it to go. Then we drilled 2 holes in a gusset on the frame and after grinding and modifying the new bracket, we mounted to try it out. It sort of worked but our bend was a little high so it didn’t look quite right. But worse, the bracket flexed when the brake pedal pulled on the switch. We decided to remake the bracket, fixing both issues by lowering the bend and using 1/8” x 1” SS for the bracket. It was faster this time as we could use the old bracket for the drilling of the mounting holes and make the bend about ¼” lower. After grinding and polishing the bracket, the finished part looked and worked well with no flex. Between the 2 of us, it only took about a day longer than using a stock bracket and switch, IF there had still been a place to mount a stock switch!!
Hardware, such as nuts and bolts, is also time consuming. It’s relatively expensive for the SS bolts, but probably not as much as sourcing new British Standard (Whitworth) nuts and bolts, which the British used until close to 1970. The British then switched (almost) everything to Metric and I wish the US had done so also. It’s a worldwide standard, which much of the US seems to ignore. We are changing almost every nut and bolt to SAE, except for the front forks and brake, which are all Metric. SAE is available everywhere in the US. I try to keep a list of the SS bolts I need so that I can order online at considerable savings than the local hardware stores. More often than not I make a trip to a store that has a reasonable supply of SS locally, just so we can mount whatever we are working on at the moment. The SS nuts and bolts add a nice look to this bike and we feel it’s well worth the effort. I also changed the 10 chainring mounting bolts, not to SS, but to grade 8 SAE bolts. The stock Whitworth nuts and bolts were so soft and most of them were stripped anyway. Even though there are 10 bolts holding the chain ring to the brake drum, the load on them is mostly shear, Re-tapping the British threads to SAE allowed us to use much stronger grade 8 bolts and jam nuts which will handle the expected increased power from the new engine.
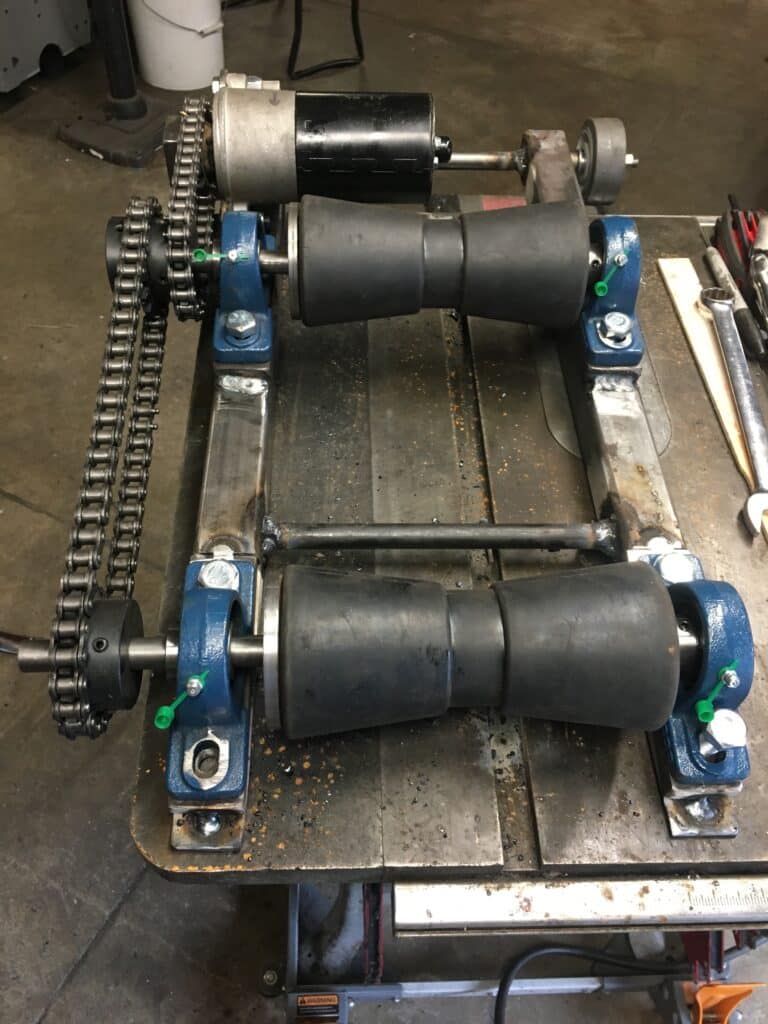
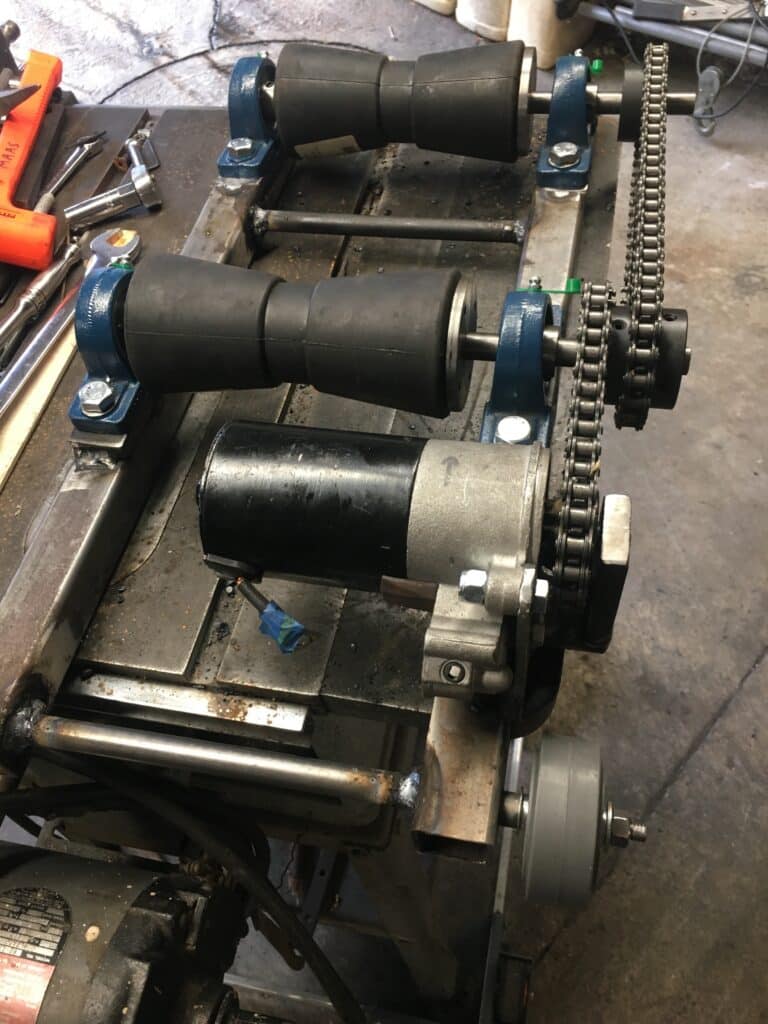
The final project before we strip the engine down, is finishing the remote track starter to help start the Rickman and soon the BSA. Both motors are larger displacement then stock and both have high compression pistons. While they both can be started with the kick-starter, an electric roller starter will help a lot, especially when the motors are cold. With my disability, the remote starter is still in progress, but close to being able to use. I’m looking forward to finishing and using this device!
We should be into the engine by the next post.

Comments