March 11, 2022
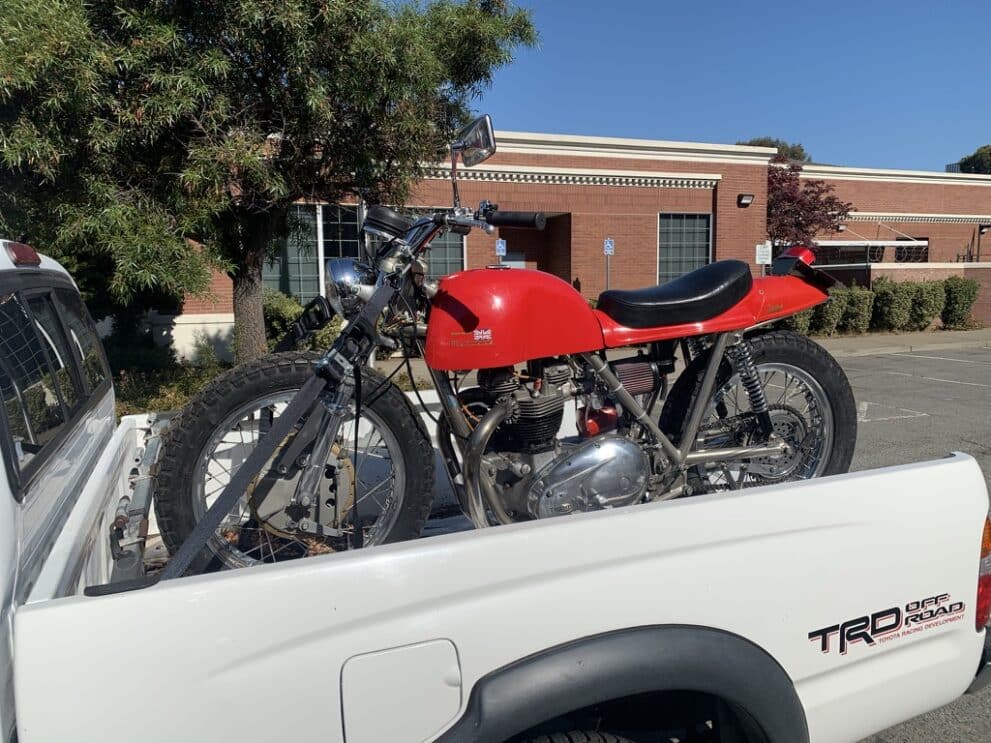
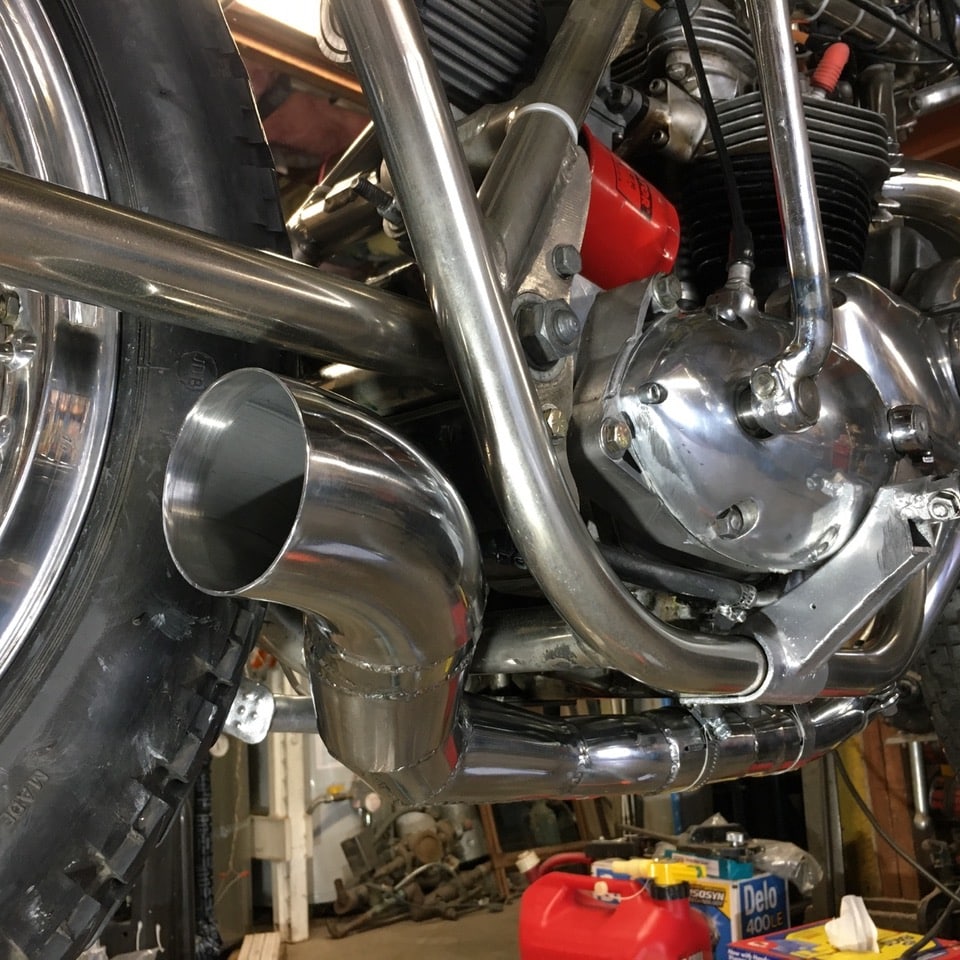
I have been slowly making some headway on my Rickman. The two main areas of effort for me, with my disability, were to start the bike myself, and to get it re-registered so DMV wouldn’t suspend my registration. A third issue, shifting, is still in the works with a temporary fix.
The DMV sent me a Notice of Suspended Registration a couple of months ago, requesting a certificate of insurance. I had obtained insurance through Hagerty back in September of last year. However, DMV titled and registered this bike as a Special Construction and Hagerty was calling it a Triumph TT Special. The paperwork from DMV used the VIN from a special pair of tags the CHP glued on the frame and engine back in 1970, as the VIN and engine number. Hagerty would not issue insurance for a Special Construction vehicle, but would insure a Triumph TT Special or a Rickman. The issue arose with DMV because Hagerty’s certificate of insurance had no frame or engine numbers on it that matched the DMV title.
So after going to DMV to attempt to resolve the issue, we were sent to the CHP for another VIN inspection. Although it didn’t seem like it at the time, this was a very fortunate move because we actually were inspected by an officer that could see the bureaucratic issues, and told us how to possibly remedy them. DMV is reluctant to change the bike name on a title and my only way to remedy this was to claim that I has lost the title and registration. Then the process could have a fresh, clean start. I emailed Rickman Motorcycles in England with the frame number and asked for information about it. They wrote back that it was originally sold in the USA as a complete bike in 1969 with a T-120 TR-6 Triumph engine (my engine is a 1967 but no one seemed to take notice of this and I didn’t bring it up). With this letter from Rickman Motorcycles, we made another trip to DMV claiming I had lost my title and registration and wished to register the bike. But instead of doing this as a Special Construction, I requested that it be registered as a Rickman using the Rickman frame number and the Triumph engine number. After filling out the forms and paying a fee, I was sent back to the CHP where Eric & I had the same officer do a VIN inspection again, but as a Rickman. This time, the 1970 glued on frame and engine numbers had been removed and he used the Rickman frame number and the 1967 Triumph TT Special engine number for the paperwork. This would jive with my insurance certificate. Then back to DMV with the paperwork for the title and registration.
But as far as DMV was concerned, in their files I now owned two bikes, one a Special Construction and one a Rickman. I have registration, title and license plates for both bikes, although no matter how hard I search, I can only find one bike! My plan is simple. In September when the registration is due for the Special Construction, I’ll file a Certificate of Non-Operation, pay a one-time fee of $23 and it will die in their system. DMV only keeps records for seven years on vehicles that are not registered. I called Hagerty, canceled my insurance on the Triumph TT Special, and then got insurance for the Rickman. Piece of cake. Now that my paperwork makes everyone happy, I still have one more trip to DMV to get the original blue with yellow numbered license plate re-issued for the bike. This will be another hurdle since DMV will allow a plate from the year of the vehicle, but although it is a 1969 Rickman, It wasn’t sold until 1970 and California changed the color of their license plates between 1969 and 1970. I have written to DMV for an exception to their rule, since the blue and yellow plate was the original one and the only plate this bike ever had until now. Worst case now, I have a 2022 white and black plate for the bike, but I would like to have the original plate if possible. Stay tuned.
Today, for the first time, I actually started the bike on my own——twice! I had a machine shop in Petaluma install a pair of manual compression releases in the head which I hoped would make kicking the bike over easier. I did some other modifications also. For Christmas, Eric found and got me a kit that retards the spark on certain Fairbanks-Morris magnetos. Retarding the spark for starting was around on Model T Fords, to help prevent kick-back injury when hand cranking. A lever on the steering column allowed a retard position for starting and an advance position for proper power when running. Later cars accomplished this with a vacuum advance, a centrifugal advance, or both, built into the distributor and these functioned automatically based on RPM engine vacuum, or both. In the last 30 plus years, vehicles have a crank angle sensor which measures the speed of the engine and the vehicle’s computer then sets the advanced or retardation levels, depending on the RPM.
The kit for Fairbanks-Morris magnetos has a manual lever attached to a shaft that protrudes through a drilled magneto cap, and when rotated, retards the spark by 20 degrees of ignition timing. This all but eliminates kickback and makes for easier starting. Once started, one rotates the lever to the run position and a magnet holds the lever in the proper timing place. Unfortunately, this kit won’t work on my magneto. The magneto on the Rickman is a single fire magneto and this kit is for a dual fire spark magneto. The dual fire magneto sparks EVERY stroke at the timing mark (39.5 degrees BTDC for this engine), whether a compression stroke (necessary spark) or an exhaust stroke (wasted spark). My magneto only fires every other stroke (compression) meaning that the condenser in the mag has twice the time to build up a charge, for a hotter potentailly spark. To my mind this is a better magneto, but the common mag now is the dual fire mag. Its only advantage is that one can place either spark plug wire on either cylinder and the bike will run. My magneto’s wires are cylinder specific. The dual fire mag is what some people use on Harleys and this is the market they make the retard kit for. I suspect the Harley market is bigger than the 67 Triumph market. My cap is also about 3/4” taller than the kit cap, requiring a longer points pivot shaft.
So I called Fairbanks-Morris and inquired if they made or were planning to make a kit for the single fire mag. Not only did they say no, but they said it most likely couldn’t be done. That became a challenge to me, so Eric and I pulled the mag from the bike and tore it apart. The retard kit Eric got me works by opening the gap on the points .010, thereby retarding the timing 20 degrees. It came with a special offset cam, and a special set of points. This offset cam slipped over the original point post and then extended through a much lower magneto cap. The point post in my mag was different, on the opposite side of the magneto, and wouldn’t accept their extension cam, so I decided to make my own. Actually by the time I was done, I made three of them in order to get what I needed. I learned a little bit with each incarnation.
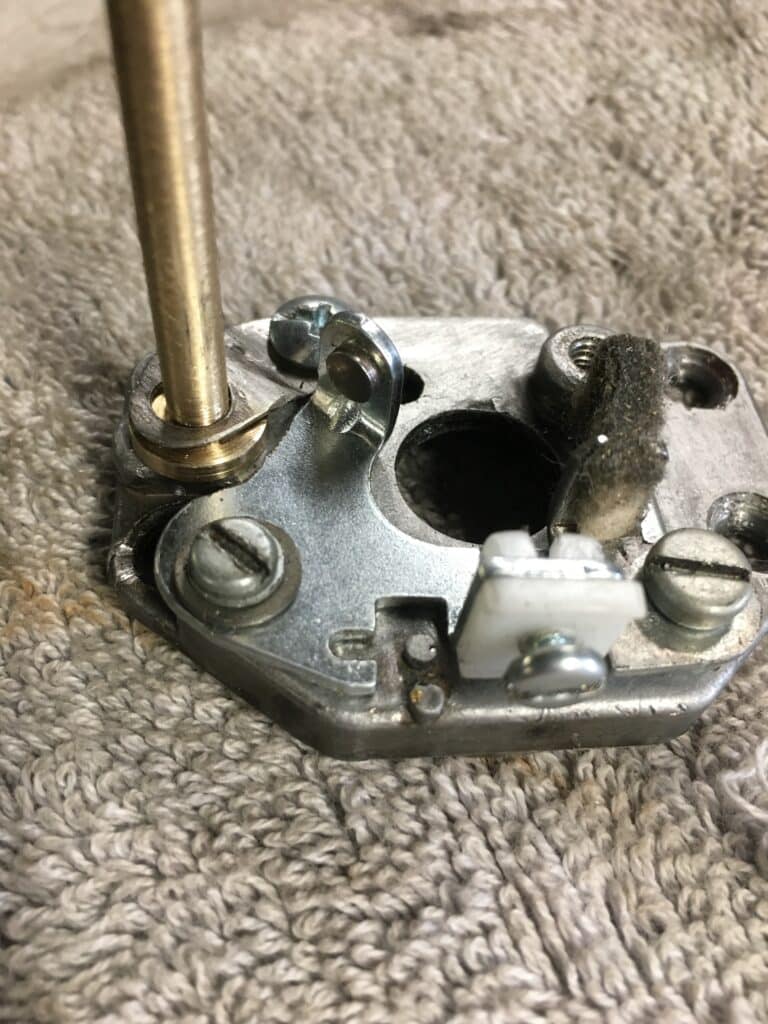
First, as hard as we tried not to do so, removing the point pivot post required destroying it. We were left with a jagged hole in a pot metal plate. I brought the plate over to my friend Al Lapp, who put it in his mill vice, centered it, drilled and reamed out a 1/4” hole for the new post. We pressed in a steel ¼” OD bushing which I drilled and reamed out to 3/16”, the diameter of the pivot part of the offset points post I was making. Then I took a piece of 5/16” brass rod and turned it to the diameter of the points pivot hole. I made a base below where the points sit and then placed the new part in a 4-jaw chuck so I could use a dial indicator to offset the base of the pivot post .010″. As I started to put everything together, I realized there would be nothing to hold the point post down to the point plate. I also realized that the base diameter was too small, allowing the post to rock which would have thrown off the timing. So I made another post with a base a little less than ½” for more stability and also used a piece of SS sheet metal to make a hold-down bracket which the points would rest on. I drilled and tapped the point plate to screw down the hold-down bracket to the point plate with a 8-32 screw. Once installed, I realized the setup needed a circlip right above the points to keep them in place so I cut that into the points post. We measured where to drill the hole in the cap for the offset pivot post to come through the cap and we were in business.
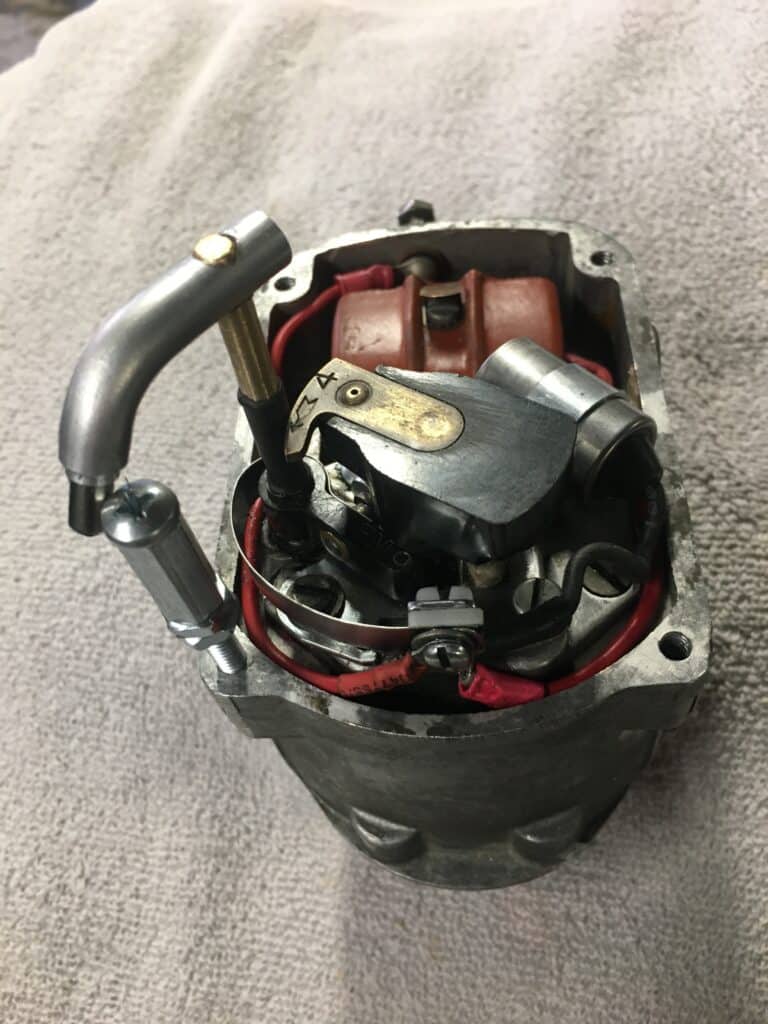
Except we weren’t. The .010″ offset on the point post cam only opened the points about .005 or 10 degrees of retard. This would help with kickback, but twice that would be better. After close inspection, I realized the location of the points post was tangentially positioned from the fixed side of the points, so movement wasn’t at a 1 to 1 relationship, but about ½ of that. So I took everything apart and made a new post with a .020″ offset cam. This one gave me a fuzz over .010″ larger point gap when in the retard position which would equal 20 degrees on the engine timing. To finalize everything, I placed a piece of heat-shrink tube over the extended points post to insulate it from the spinning rotor which clears the post by .070”. I used a longer screw with a long coupling nut in order for the magnet to still couple to it in the run position. Next, I set up my degree wheel on the end of the crank, found TDC and installed the new modified magneto. I statically timed it at 39-1/2 degrees BTDC in the locked down (running) position and then rotated the lever to the start position and took a timing reading. 19 degrees BTDC! This was perfect. Kickback is gone!!! The last minor change was to make a lever out of Daralin to insulate from the spark plug wire which is very close to the new brass points pivot shaft. After being bitten a couple of times advancing the spark, this solved that issue
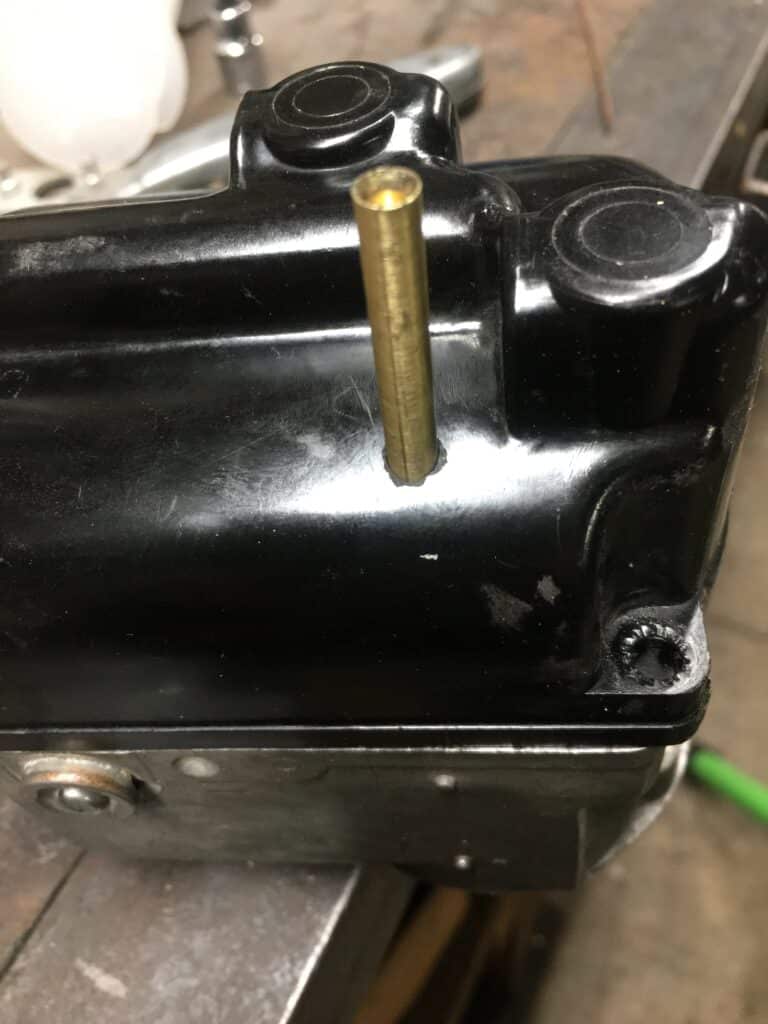
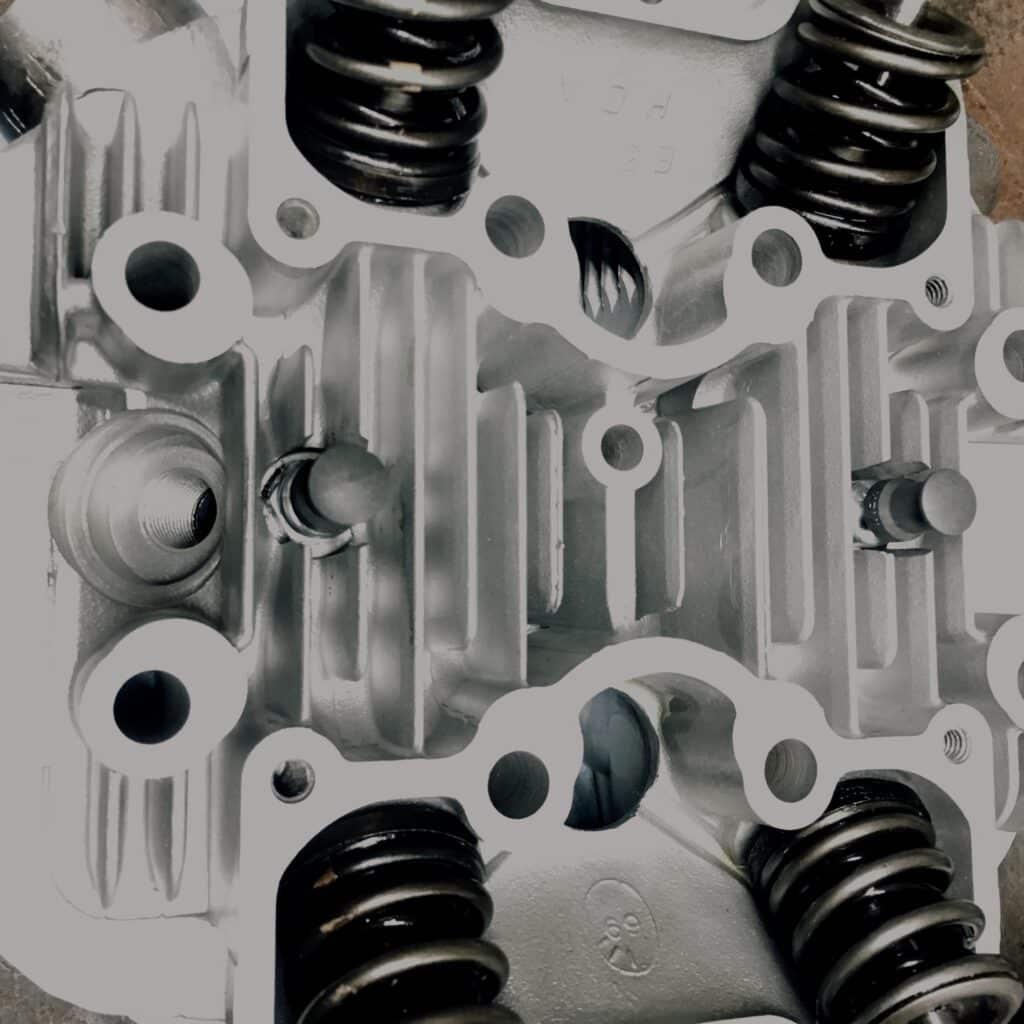
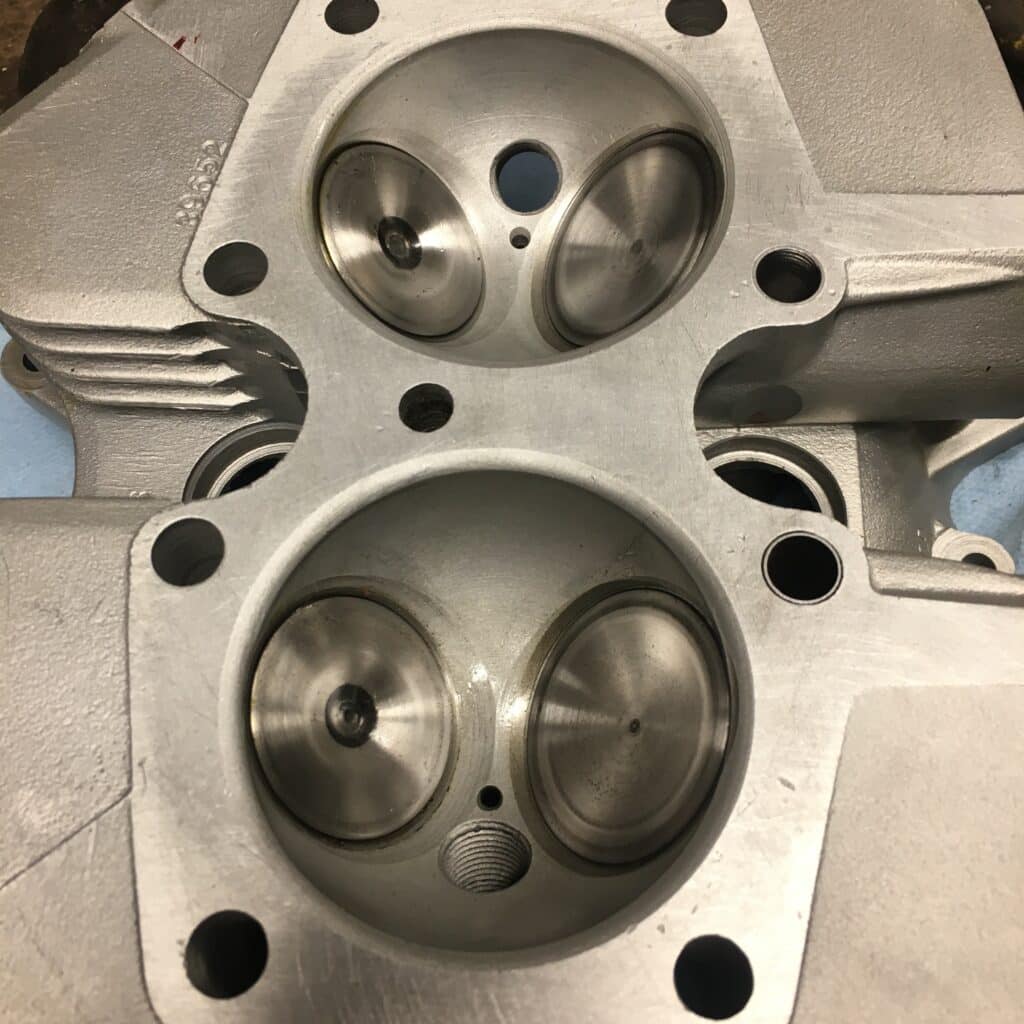
Since I had installed the compression releases and Eric had only ridden the bike about a half hour after that, I decided to re-torque the head and adjust the valves after the valve job I gave it with the compression release work. Next it seemed to Eric and me that some of the hard starting when cold could be from not enough fuel getting to the new Mikuni carburetor. I had placed a miniature fuel filter in the line which was unmarked as to the direction of flow, a nice feature. We took the line off and blew through the filter and we felt it was in backwards. The bike now starts up easily after a warmup, but is still a little hard to start when cold. The Mikuni is new and the enriching valve is new to me, so I still have a learning curve to master for cold starts. We are working on this.
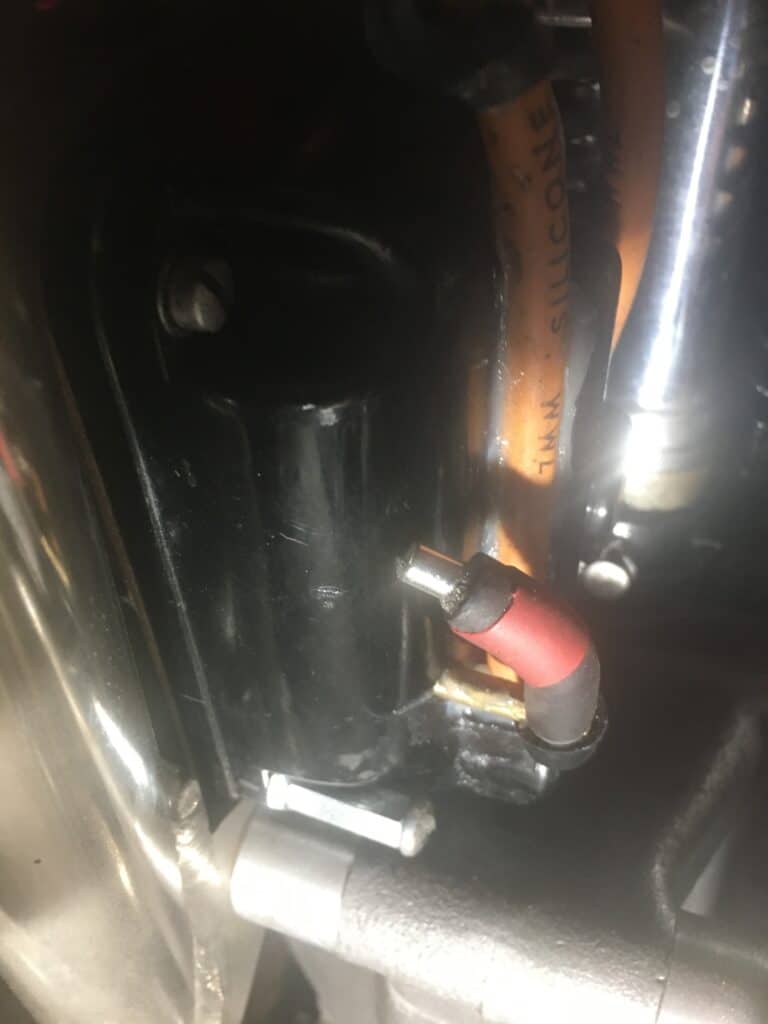
I also added a full time breather to the crankcase with a one-way check valve and added a similar check valve to the stock, timed breather line. Both pistons go up and down together, meaning pressure builds up in the crankcase on the down stroke. Not only should the engine run better, but less pressure in the crankcase equals fewer oil leaks (none as of now)! Al also welded a loop on the end of the foot gear shift lever so that I will be able to attach a cable of some sort to it in order for me to up-shift the bike. I want this to be a temporary fix and I need to spend some time designing an electric shift. This should be the next major project for the Rickman. In the meantime I’m working with Eric on his BSA Goldstar and plan to start soon on my 1964 BSA Spitfire Hornet 750cc complete restoration.

Beautiful. Nice photos. Commendable patience with the DMV🤦♂️