August 28, 2021
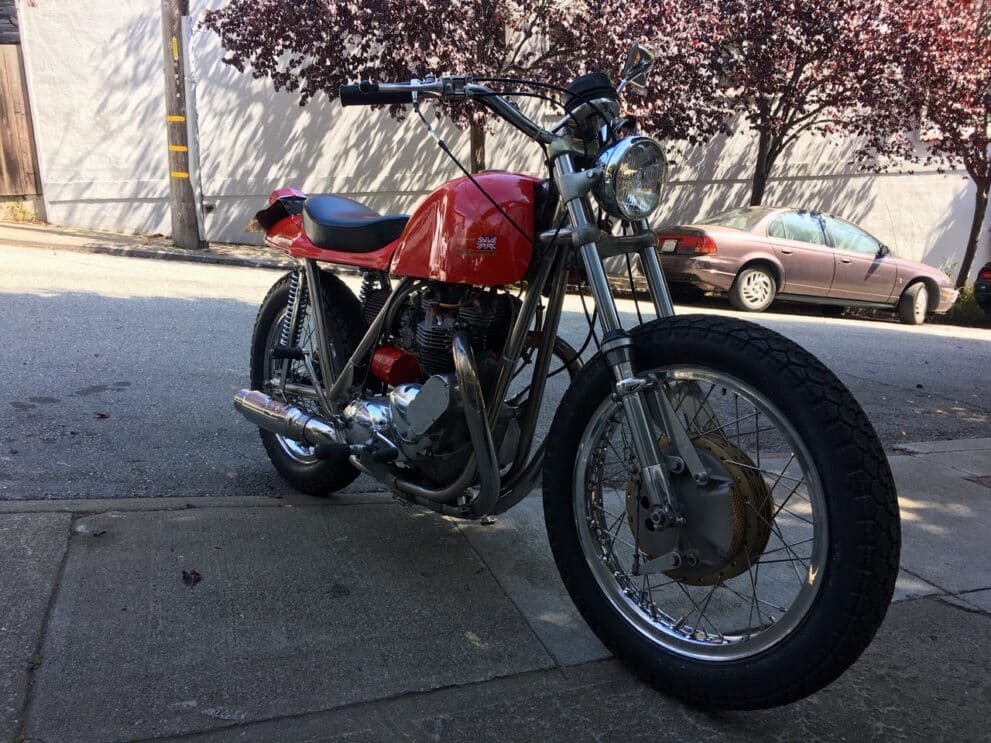
After replacing all the seals and gaskets on the primary (left) side of the engine it was time for another run. This last Wednesday Mark came over and fired the Rickman on the first kick. We didn’t leave the enriching lever down this time and I suspect I was flooding the engine when I attempted to start it last week. Still learning the characteristics of a new carburetor. He rode it out of our garage and was gone about ten minutes. I was nervous the whole time because of the very old license plate tags and kept thinking how I would explain a ticket before I even got the VIN inspection. If there ever was a “give me a ticket” bike, this one would be fairly high on the list. He came back, not ticketed, and parked the bike on the sidewalk in front of the garage door. As we were talking, we noticed a drop of oil on the sidewalk. Sure enough there was a film of oil way under the bike. Very upsetting after I just spent so much time attempting to stop the leaks. The leak was no where near as much as after the first start-up since 1982, but oil was definitely on the ground.
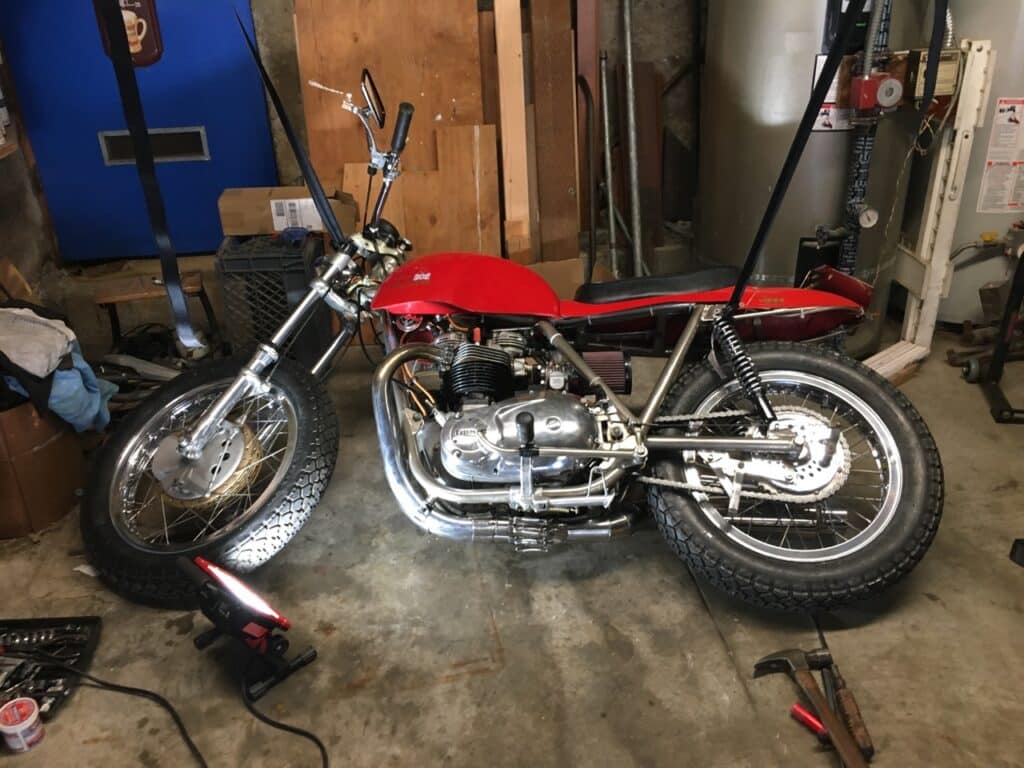
I knew it wasn’t from the primary case as I used a red primary oil (probably automatic transmission fluid). Looking under the bike I could see the transmission output shaft and seal which I had just replaced and it was bone dry. We put the bike back in the garage and with a pair of straps suspended from the ceiling, I lowered the bike on its right side, almost all the way over. I went online and got a cut-a-way of a 1967 T-120 engine and lo and behold there is a pipe coming out of the engine. I then called Todd at Lowbrow Customs and he said that pipe is for a timed breather, driven by a pair of slotted discs at the end of the intake cam to relieve pressure from the crankcase. In other words, blow-by. He also said it would be extremely difficult to install a hose to take the blow-by oil back into the return line of the oil tank after the bike is running and everything is in place. So I decided to look and see how hard this really would be.
Todd was right, it looked impossible. I couldn’t even see the tube out of the engine. I decided I had four options. One, leave it alone and let it drip. B, Install a hose somehow over the tube and run it to the very rear of the bike and let it drip on the rider following me down the road, or three, install a catch can. If I couldn’t get a hose onto the pipe coming out of the engine, my fourth option was a full time breather vent directly into the crankcase by removing the timing plug at the base of the barrels and putting a hose fitting in its place. Although this option would not have sealed the timed vent tube, I hoped by being a full time vent it would relieve the pressure, and at least slow down the drip from the timed vent.
The original builder of this engine installed a chain guard made of steel that runs around the chain as it enters the engine and wraps around the transmission final drive sprocket. It really can’t be seen from the outside, but it’s made from a piece of 1” by 1/8” steel and bolted to the case. It could help save the cases if a chain broke, but it covered up the open breather tube. With a large screw driver for leverage, I was able to bend this guard, giving it more wrap around the chain sprocket and early exposing the open breather tube. Next was to figure out how, without undoing all the work I just finished, could I get a 3/8” ID hose up about 8 inches and onto to this tube. Everything was in the way, exhaust and alternator wires, were among some of the obstacles as well as the shape of the case itself. Finally, by undoing the drive chain, removing the chain guard as far as it would come out with the final drive gear still in place, I was able to slip a foot long piece of 3/4” copper pipe up into the cavity and over the breather tube. With ample amounts of silicone lube on the outside of the new breather hose, I was able to slip the hose into the copper tube and after about 5 minutes of twisting and pushing, I felt it slip firmly over the pipe. I then just slid the copper tube down the length of the new breather hose to remove it. The rest was re-assembling everything. This was a hard job due to access and lack of light. Placing a light on the work blocked my view so most of the job was done with a mini mag light. I also needed 3 and 4 hands at times and Nancy came to my rescue more than once.
Now that the bike is upright again, I have decided to use the timed breather vent AND a full time vent into a catch can. Both have one-way check valves in their lines. The one I ordered from Ebay is totally cool and should arrive this Wednesday. It has 2 input fittings and one output. It also has a petcock at the bottom so it can be drained when necessary. All this for under $30. You can check it out here: https://www.ebay.com/itm/153639356545?ssPageName=STRK%3AMEBIDX%3AIT&_trksid=p2060353.m2749.l2649 I’ll make a mount and see if I’ve finally stopped the leaks! BTW, from 1968 on, Triumph changed the engine venting system and it’s easy to attach this hose. Unfortunately, they didn’t change enough other issues and were out of business a few year later. Today’s Triumph’s are made by a different company.


Comments